Publishing Your First Composer Package
Publishing your first composer package is pretty easy. In this article, we’ll go step-by-step from creating the package to publishing it on Packagist, to installing it in one of your projects.
What is Composer?
Composer is the de facto package manager for PHP. It allows users to install and manage dependencies in their PHP-based projects.
According to the official website, Composer is a tool for dependency management in PHP. It allows you to declare the libraries your project depends on, and it will manage (install/update) them for you.
Prerequisites
- PHP 5.3.2 or above
- Composer installed on your machine
- A GitHub account
- A Packagist account
Assuming you have PHP installed on your machine, you can install Composer by running the following command in your terminal:
curl -sS https://getcomposer.org/installer | phpOr follow the instructions on the official website.
Run the following command to check if Composer is installed successfully:
composer --version

Composer version 2.5-dev+6c85b875f27185b0e36c35aac98af634be25bdc0 (2.5-dev) 2022-11-03 20:53:42
Alternatively, you can run composer like this:
php composer.phar --version

Composer version 2.5-dev+6c85b875f27185b0e36c35aac98af634be25bdc0 (2.5-dev) 2022-11-03 20:53:42
Creating a Package
To create a package, you need to create a directory for your package. In this case, we will create a directory called hello-world and change into it:
    mkdir hello-world
    cd hello-world
Every package must have a composer.json file. This file contains information about your package, such as the name, version, and dependencies. You can create this file by running the following command and following the prompts:
composer initBut for this tutorial, we will run the following command to create the composer.json file:
composer init -q -a src --name my-name/hello-world --description "A simple hello world package" --license MITThen run composer u to install the dependencies.
We get the following directory structure with two files and two directories:
.
├── composer.json
├── composer.lock
├── src
└── vendor
    ├── autoload.php
    └── composer
        ├── autoload_classmap.php
        ├── autoload_namespaces.php
        ├── autoload_psr4.php
        ├── autoload_real.php
        ├── autoload_static.php
        ├── ClassLoader.php
        ├── installed.json
        ├── installed.php
        ├── InstalledVersions.php
        └── LICENSE
Vendor Directory
The vendor directory contains all the dependencies of your package. It is automatically generated when you run composer install or composer update.
src Directory
The src directory contains the source code of your package. It is automatically generated when you run composer init.
composer.json File
As explained earlier the composer.json file contains information about your package, such as the name, version, and dependencies. It is automatically generated when you run composer init.
composer.lock File
The composer.lock file contains information about the dependencies of your package. It is automatically generated when you run composer install or composer update.
Testing the Package
It is always best to test your package before publishing it. To test the package, we will install phpunit. PhpUnit is a unit testing framework for PHP. It is used to test the functionality of your package.
Read my article on writing tests.
Run the following command to install phpunit:
composer require --dev phpunit/phpunitWe need to configure phpunit to run our tests. To do this, we will create a phpunit.xml file in the root directory of our package. Add the following code to the file:
<?xml version="1.0" encoding="UTF-8"?>
<phpunit bootstrap="vendor/autoload.php" colors="true">
    <testsuites>
        <testsuite name="Test Suite">
            <directory>tests</directory>
        </testsuite>
    </testsuites>
</phpunit>
We want to run our tests in the tests directory. So Add the following block to the composer.json:
  "scripts": {
    "test": "phpunit"
  }
Our composer.json file should look like this:
{
  "name": "my-name/hello-world",
  "autoload": {
    "psr-4": {
      "MyName\\HelloWorld\\": "src"
    }
  },
  "require-dev": {
    "phpunit/phpunit": "^9"
  },
  "scripts": {
    "test": "phpunit"
  }
}
This allows us to run the tests by running the following command:
composer testAdding Functionality
Now that we have created our package, let’s add some functionality to it.
We will create a class called HelloWorld in the src directory. The class will have a method called sayHello that will return the string Hello World!.
Before we create the actual class, we need to create the test class first. Create a class called HelloWorldTest in the tests directory. The class will have a method called testSayHello that will test the sayHello method of the HelloWorld class.
<?php

namespace MyName\HelloWorld\Tests;

use MyName\HelloWorld\HelloWorld;

class HelloWorldTest extends \PHPUnit\Framework\TestCase
{
    public function testSayHello()
    {
        $helloWorld = new HelloWorld();
        $this->assertEquals("Hello World!", $helloWorld->sayHello());
    }
}
Now we can create the actual class. Create a class called HelloWorld in the src directory. The class will have a method called sayHello that will return the string Hello World!.
<?php

namespace MyName\HelloWorld;

class HelloWorld
{
    public function sayHello()
    {
        return "Hello World!";
    }
}
Let’s run the tests to see if everything is working as expected. Run the following command to run the tests:
composer testWe get the following output:
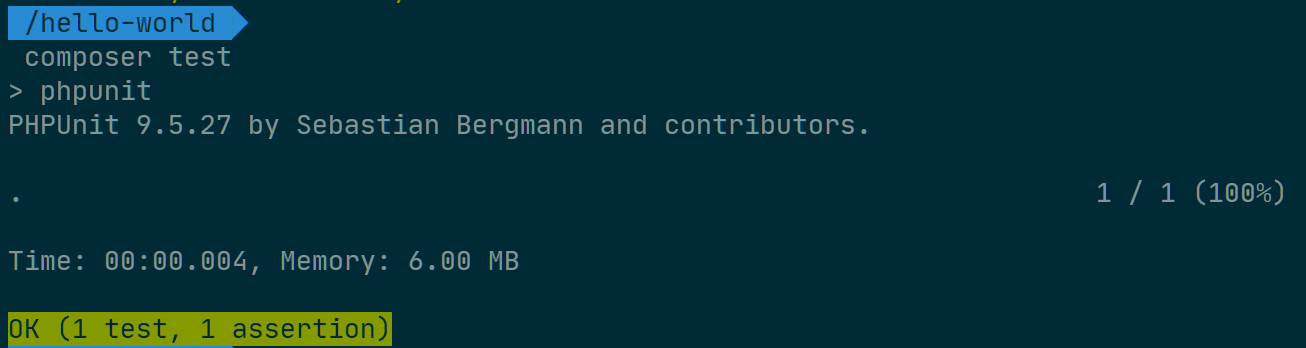
Version Control
Now that we have created our package, we need to add it to version control. We will use git for this. Run the following command to initialize git:
git initBefore we add the files to git, we need to add the vendor directory to the .gitignore file. This is because the vendor directory contains all the dependencies of our package. We don’t want to add the dependencies to git because they are already available on packagist.
We also want to ignore the phpunit cache directory. Add the following lines to the .gitignore file:
    vendor/
    .phpunit.result.cache
Add all the files to git:
git add .Commit the files:
git commit -m "Initial commit"Pushing to GitHub
Now that we have created our package, we need to push it to GitHub. Create a new repository on GitHub and push the files to it.
Creating a GitHub Repository
To create a new repository on GitHub, go to GitHub and fill your package details. It looks something like this:
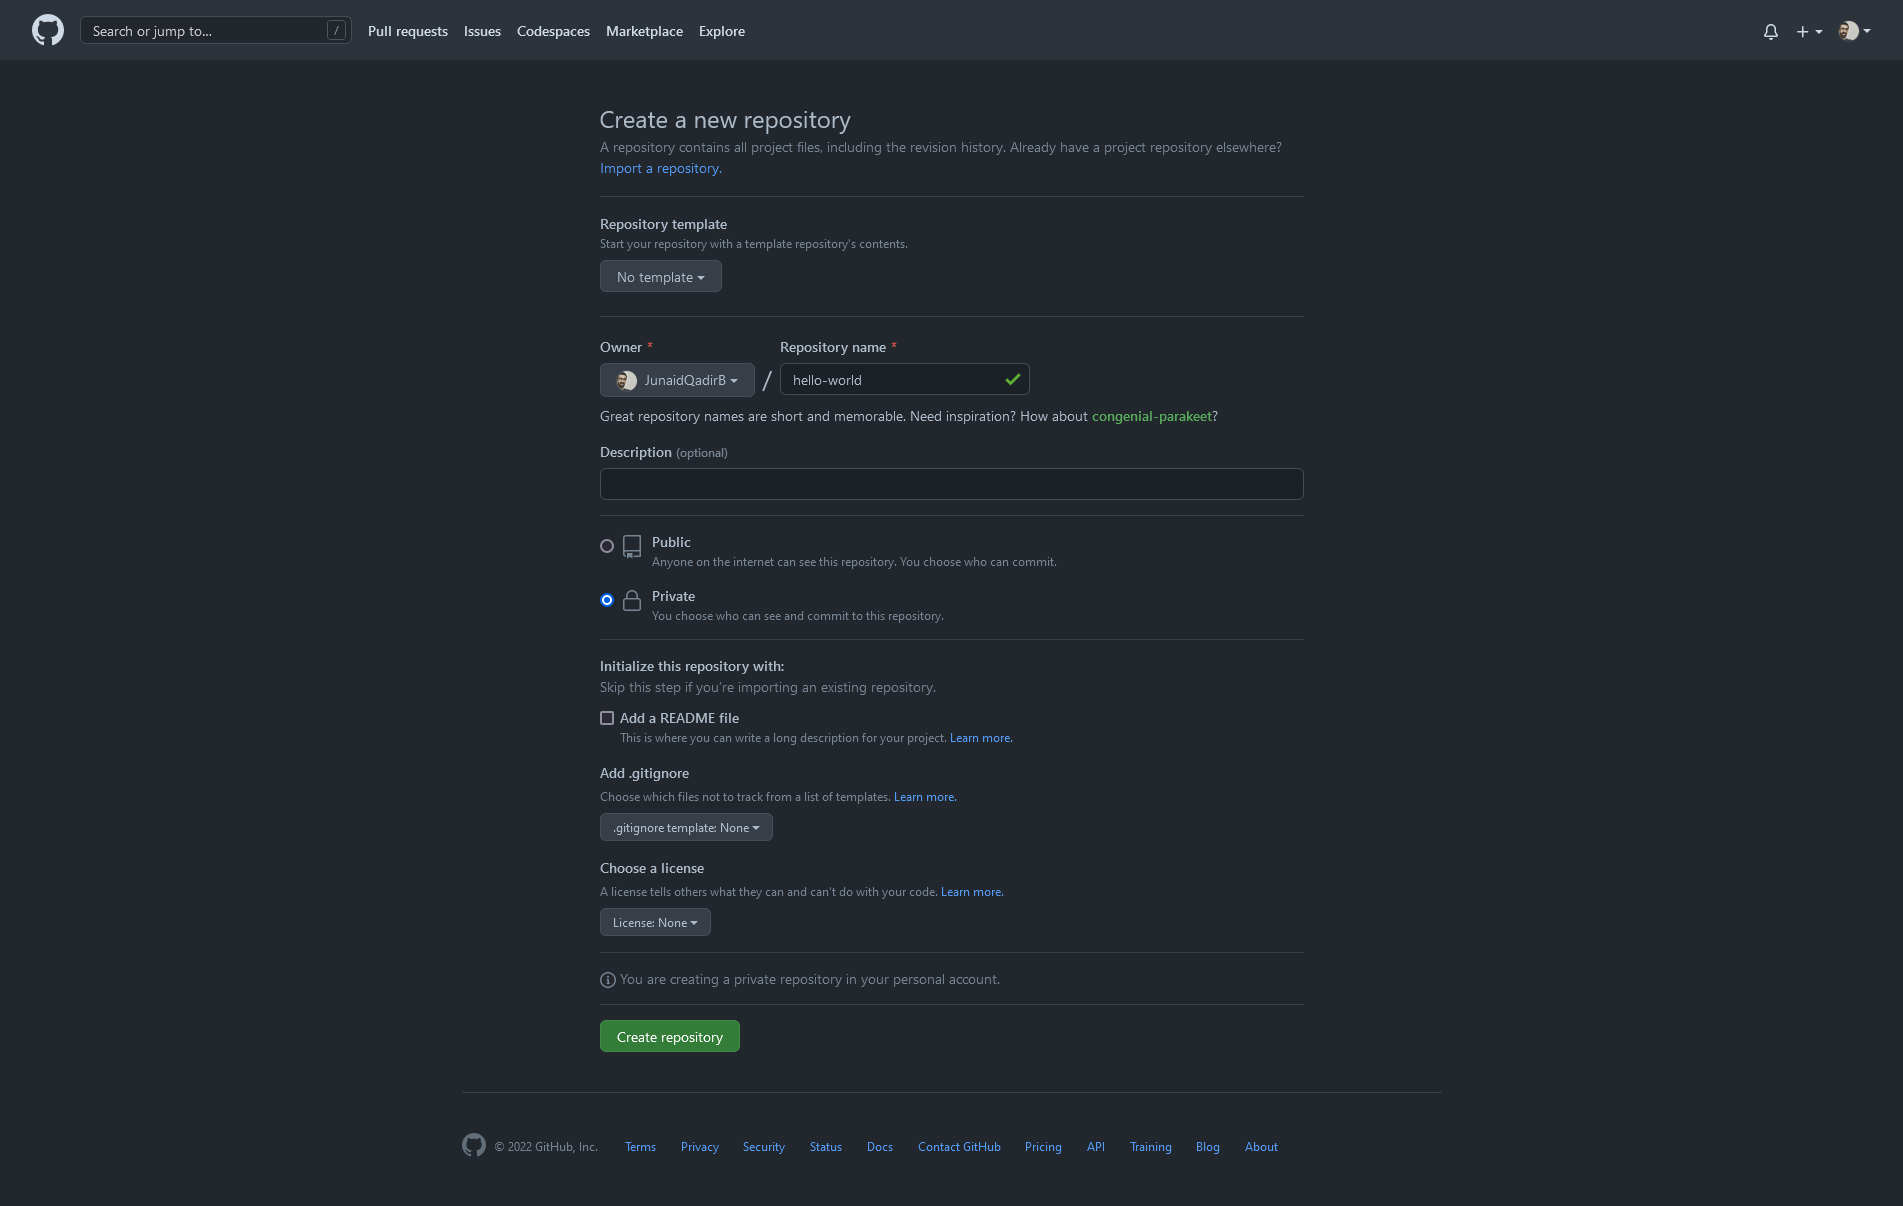
Make sure you choose the Public option. This will make your package available to everyone. Click on the Create repository button to create the repository.
Pushing the Files to GitHub
Now that we have created the repository, we need to push the files to it. Run the following commands to add the remote and push your files:
    git remote add origin https://github.com/[user-name]/repository-name.git
    git branch -M master
    git push -u origin master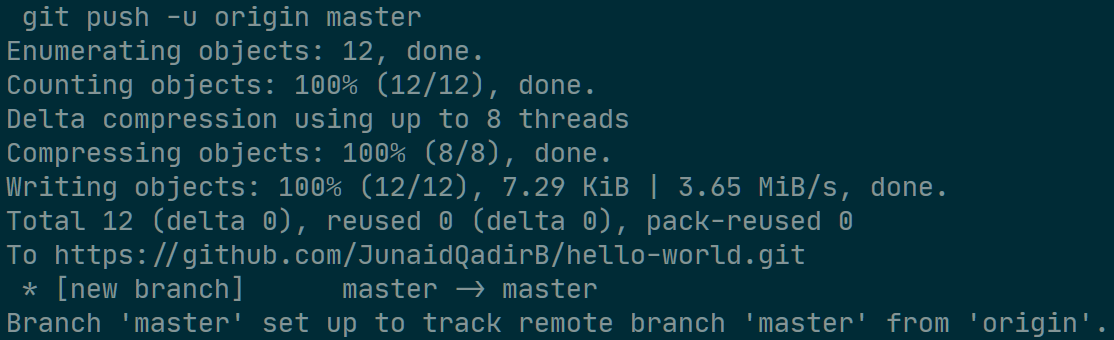
Once the files are pushed to GitHub, you can see them on the repository page.
Publishing the Package
Now that we have created our package, we need to publish it. Publishing a package means making it available to everyone. We will publish our package on packagist.
Creating an Account on Packagist
To create an account on Packagist, go to Packagist and click on the Sign Up button or go to the registration page. Fill your details and click on the Sign Up button to create an account.
Adding the Package to Packagist
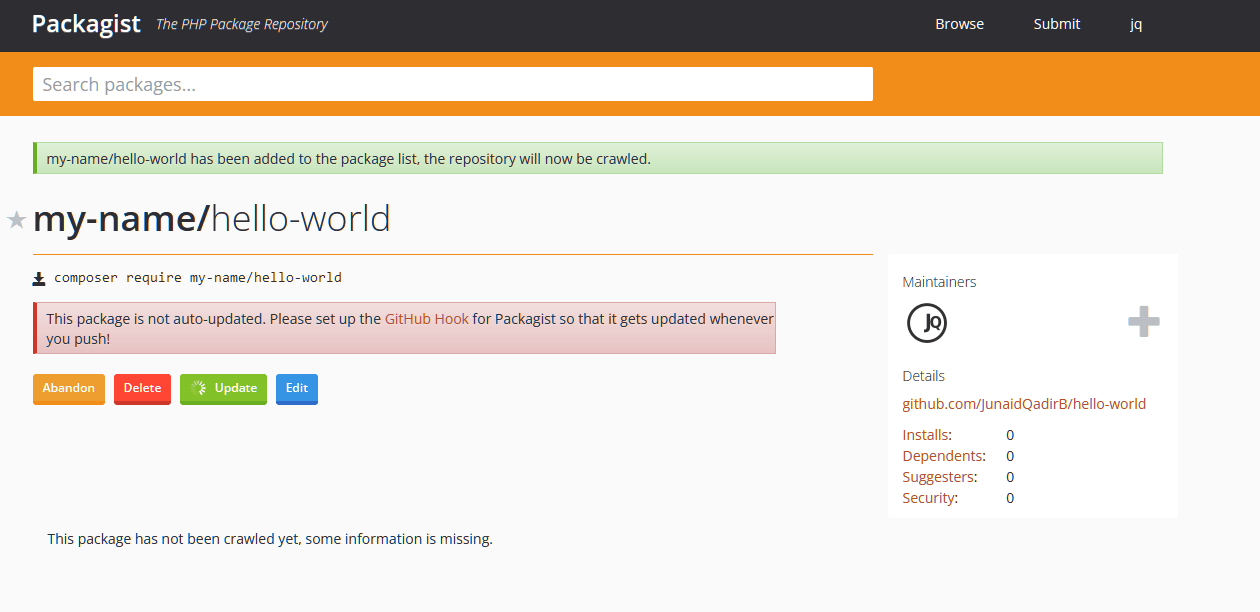
To add the package to Packagist, copy the URL of your repo and go to the submit page. Paste the URL in the Repository URL field and click on the Check button.
If the package is valid, click on the Submit button to add the package to Packagist.
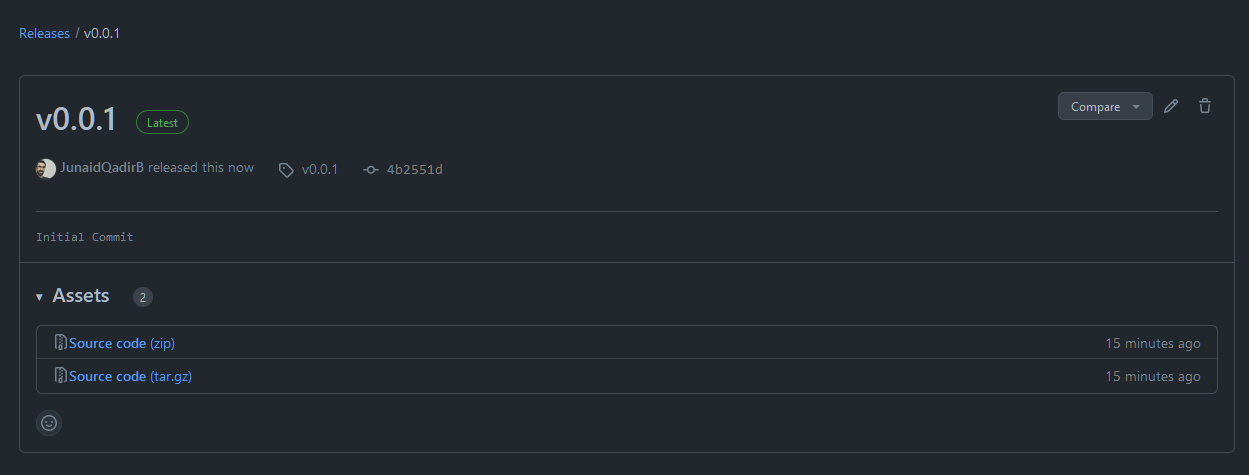
Creating a release
To create a release, go to the releases page of your package. Click on the Create a new release button to open the new release page.
Enter v0.0.1 as the release title and Initial release as the description. Click on the Publish release button. Then click the Choose a tag dropdown and type v0.0.1 and click on the Create new tag button.
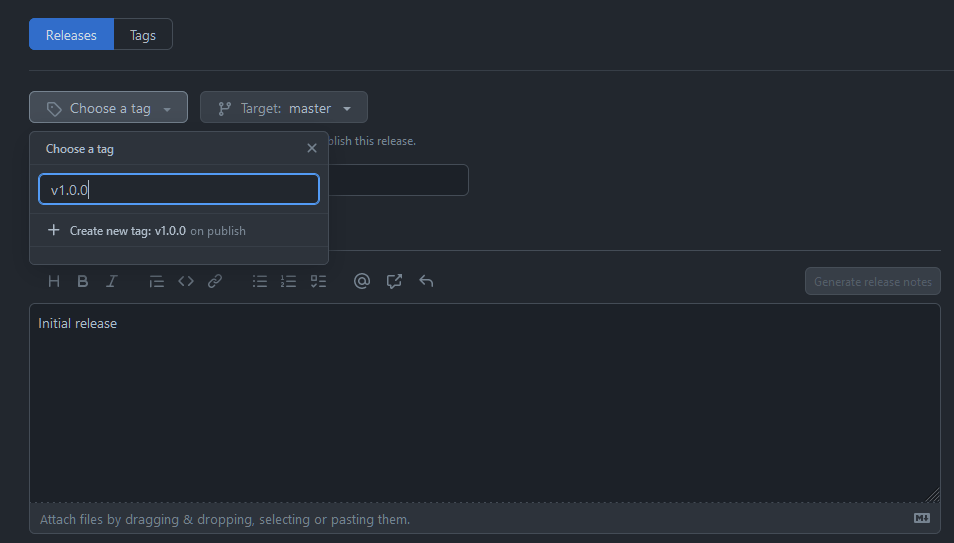
Then scroll down and click on the Publish release button.
You should see something like this:
Go to Your Package (https://packagist.org/packages/vendor/package-name) on Packagist you should see something like this:
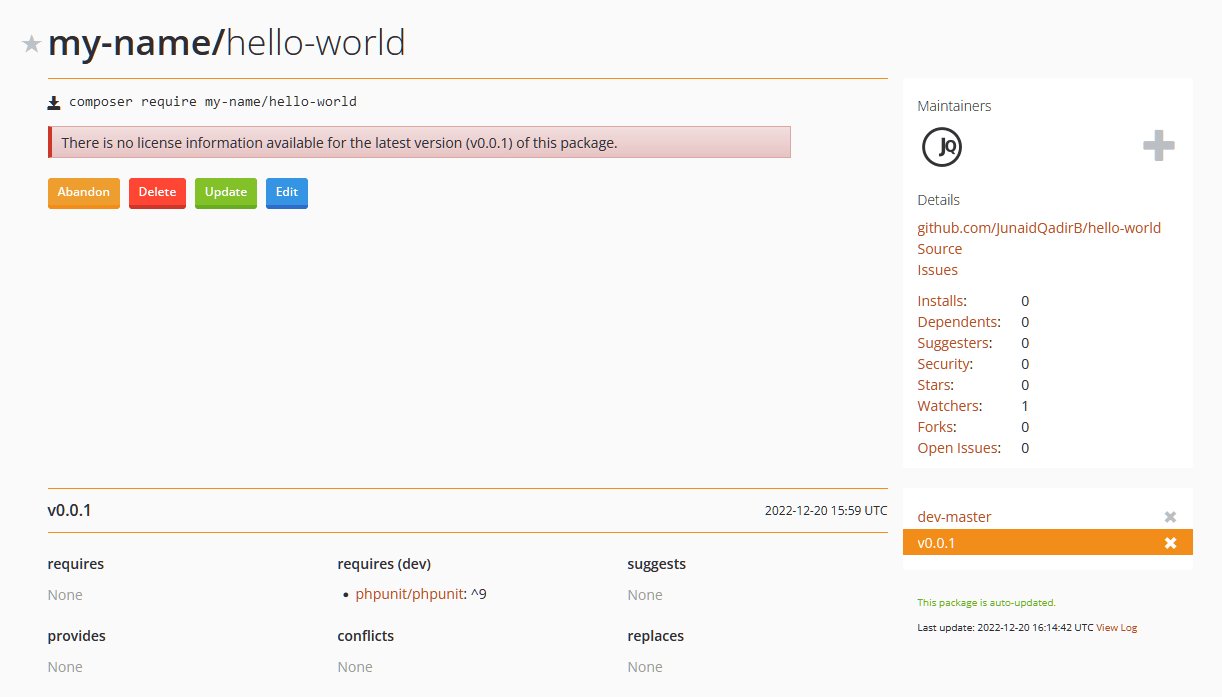
And that’s it. Congratulations! You have successfully published your first package on packagist.
Installing the Package
Now that we have published our package, we can use it in our projects. We will use the package in our projects.
To install the package, run the following command in your project directory that already has a composer.json file:
composer require my-name/hello-world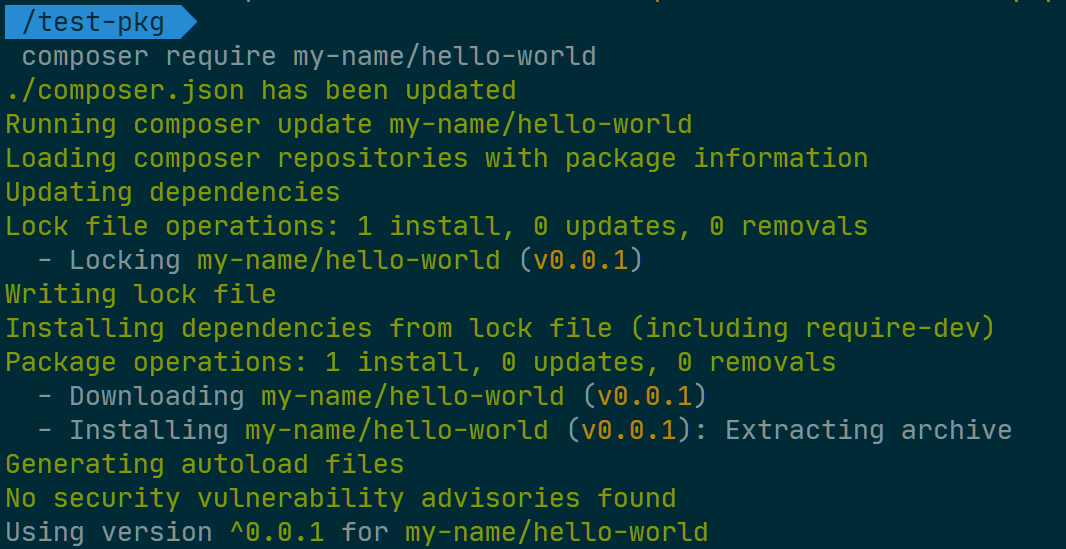
Using the Package
Now that we have installed the package, we can use it in our project. Create a file called index.php in the root directory of your project. Add the following code to the file:
<?php
require_once __DIR__ . '/vendor/autoload.php';
use MyName\HelloWorld\HelloWorld;
$helloWorld = new HelloWorld();
echo $helloWorld->sayHello();Run the following command to run the file:
php index.phpYou should see the following output:

And that’s it. Congratulations! You have successfully created and published your first package on packagist and used it in your project.
Conclusion
In this tutorial, we have learned how to create and publish a package on Packagist. We have also learned how to use the package in our project. I hope you found this tutorial helpful. If you have any questions, feel free to ask them in the comments section below.
Comments